Among the new fetures introduced in PostgreSQL 18 is support for OAuth-based authentication. This opened the door for the community to create extensions that integrate systems providing Single Sign-On (SSO) through OAuth 2.0 authentication with PostgreSQL. The reason this integration was not added directly to the core of PostgreSQL is due to the particularities found in those third-party systems: even when they support the protocol in full, their implementation of the authentication flow may vary. Thus, the job of validating the authentication of a connection attempt using oauth is outsourced to an external library. Please refer to the documentation at https://www.postgresql.org/docs/current/oauth-validators.html for more details.
You may be tempted to believe that the companies providing these external authentication services will be providing a library of their own to work with their systems, and this may eventually happen. All the same, there’s an opportunity we can take advantage of, now. If those systems are compatible with the OpenID Connect (OIDC) protocol, which is based on the OAuth 2.0 specification, we might have (or be able to acquire) all that is needed to validate authentications done against them. That’s what Percona’s pg_oidc_validator is about.
You can read more about Percona’s validator in the posts Say Hello to OIDC in PostgreSQL 18! and OAuth, OIDC, validators, what is all this about?, from my colleagues Jan and Zsolt, which were published on our community blog platform. Even though pg_oidc_validator is not yet ready for production use, we encourage you to experiment with it and let us know how it works for you.
In this post, I’ll show you how to test PostgreSQL oauth authentication using pg_oidc_validator with Keycloak using Docker containers. I’ll also explain what you need to do to use Microsoft Entra as the authentication provider instead.
Deploying a Keycloak authentication server
Keycloak is an “Open Source Identity and Access Management” system that provides SSO. We can follow their Docker tutorial to deploy our authentication server, starting with the creation of the container:
|
1 |
docker run -p 127.0.0.1:8080:8080 -e KC_BOOTSTRAP_ADMIN_USERNAME=admin -e KC_BOOTSTRAP_ADMIN_PASSWORD=admin quay.io/keycloak/keycloak:26.4.2 start-dev |
If, like me, you are also running Docker on your notebook, you should be able to access Keycloak’s web interface by visiting http://127.0.0.1:8080 with your favorite browser. If you have also not modified the default values in the command above, you’ll be able to log in using admin for both the username and password fields and access the standard “master” realm, which we will use for our test.
What else do we need?
We need to create a regular user to test with and a “client” (also called application in other systems), which, in this context, is our PostgreSQL server.
User
Let’s start with the user, selecting Users in the menu on the left, then clicking on Add user. I created mine as follows:
- Username: jdoe
- Email: [email protected]
- First name: John
- Last name: Doe
and set Email verified to “On”.
After I clicked on the Create button, I was able to configure the password “secret” for the user accessing the Credentials tab. Set Temporary to “Off” before clicking on Save.
Client
We can move on to create the client now, selecting Clients on the left menu, then Create client:
- In General settings, I set Client ID to postgres and left Client type as “OpenID Connect”.
- In Capability config, I set Authentication flow to only “OAuth 2.0 Device Authorization Grant”.
- In Login settings, I left both URL fields blank and clicked on Save.
In the Client scopes tab, we can see a list of existing scopes. We won’t be creating or customizing an existing scope for this test and will use the existing profile one as-is. For Keycloak, that’s fine. With other systems, like Entra, default scopes won’t work, and you will need to create and use a custom one.
Container IP
One last thing, we need the Keycloak’s container IP when we configure the OAuth authentication with PostgreSQL in the next step. The container I created was named interesting_kare:
|
1 2 3 |
$ docker ps CONTAINER ID IMAGE (...) NAMES 657c64008c9c quay.io/keycloak/keycloak:26.4.2 (...) interesting_kare |
To obtain its IP address, use docker inspect:
|
1 2 |
$ docker inspect interesting_kare -f '{{ .NetworkSettings.Networks.bridge.IPAddress }}' 172.17.0.3 |
Deploying a PostgreSQL 18 test server
Since OAuth support is only available starting with PostgreSQL 18, we need a PostgreSQL server of at least this version:
|
1 |
docker run --name postgresql -e POSTGRES_PASSWORD=secret -d postgres:18 |
Get inside the container:
|
1 |
docker exec -it postgresql bash |
Installing pg_oidc_validator
While you can compile pg_oidc_validator however you want, we are currently providing a package for only Ubuntu 24.04 for now. Since our PostgreSQL container is running Debian Linux version 13:
|
1 2 |
# cat /etc/issue Debian GNU/Linux 13 |
and Ubuntu 24.04 is based on that same version, we can install that package:
|
1 2 3 4 |
apt-get update apt install wget wget https://github.com/Percona-Lab/pg_oidc_validator/releases/download/latest/pg-oidc-validator-pgdg18.deb dpkg -i pg-oidc-validator-pgdg18.deb |
Here’s our library:
|
1 2 3 4 5 6 7 8 |
# dpkg -L pg-oidc-validator-pgdg18 /. /usr /usr/lib /usr/lib/postgresql /usr/lib/postgresql/18 /usr/lib/postgresql/18/lib /usr/lib/postgresql/18/lib/pg_oidc_validator.so |
We also need to install the package that provides OAuth support for the libpq library:
|
1 |
apt install libpq-oauth |
Creating the test database
Imagine the following use case:
- A company that sells products stores a list of discount codes in a table called “dcode”, which is hosted in a database called “promo”.
- There is a different code generated every day.
- They want all employees to have access to that table.
- For reasons that only apply to this exercise, employees can access the code only by connecting to the database and querying the table.
- There should not be a database account created for each employee.
- The connection to the database should be authenticated using the company’s SSO system.
Let’s connect to PostgreSQL:
|
1 |
PGPASSWORD=secret psql -U postgres |
Then create this database:
|
1 2 |
create database promo; c promo |
and the table to store the discount code:
|
1 2 |
create table dcode (code varchar(10), generated_at timestamp default now()); insert into dcode (code) values ('SAVENOW'); |
You can exit PostgreSQL now:
|
1 |
q |
The access user
Since we will not be creating one database account for each employee, we need to create one that can be used by all of them:
|
1 2 |
create role employees with login; grant select on dcode to employees; |
Configure OAuth access using Keycloak
Finally, in order for users to connect using OAuth and authenticate through the Keycloak server, we need to create an identity map and add an entry for such access on PostgreSQL’s authentication configuration file. But first, install your favorite text editor:
|
1 |
apt install vim |
Edit the identity mapping configuration file:
|
1 |
vim /var/lib/postgresql/18/docker/pg_ident.conf |
and add an entry, which we will call oidc, mapping connections originated by a system user identified with an email in the domain @mydomain.com to the database user employees:
|
1 2 |
# MAPNAME SYSTEM-USERNAME DATABASE-USERNAME oidc /^(.*)@mydomain.com$ employees |
Next, edit the authentication configuration file:
|
1 |
vim /var/lib/postgresql/18/docker/pg_hba.conf |
and add the following line before the replication section:
|
1 2 |
# TYPE DATABASE USER ADDRESS METHOD host promo employees 172.17.0.0/24 oauth issuer=http://172.17.0.3:8080/realms/master scope=profile map=oidc |
The configuration file pg_hba.conf acts as a sort of firewall for connections. With the above line, we are instructing PostgreSQL to allow connections coming from the private network (172.17.0.0/24) that attempt to access the database promo as user employees using the new authentication method oauth. We are also indicating that the authentication provider is our Keycloak server (http://172.17.0.3:8080/realms/master) and that the scope to be used is profile (which includes the user’s email address). Finally, this connection should be processed through the identity map oidc, created above.
Enabling the validator
I was almost forgetting, we need to configure PostgreSQL to load the Percona OIDC validator. Edit the main PostgreSQL configuration file:
|
1 |
vim /var/lib/postgresql/18/docker/postgresql.conf |
and set:
|
1 2 |
oauth_validator_libraries = 'pg_oidc_validator' pg_oidc_validator.authn_field = email |
If we don’t set the authn_field to “email”, the validator will use the user’s ID in the provided profile (scope) by default, which will not match the identity map we created for this. We are using email as the target field because we expect all employees to have one configured in their profiles. If we wanted to restrict access to a more limited group of employees, we could use a different field instead.
Restart PostgreSQL and watch the log
Now, exit the PostgreSQL container, and restart it:
|
1 |
docker restart postgresql |
We want to keep an eye on the PostgreSQL log while we attempt our database connection, so let’s tail the log:
|
1 |
docker logs postgresql -f |
Connecting to the database
For this simple connection test, we need to use a PostgreSQL client that is compatible with oauth. To keep things simple, we can access that same PostgreSQL container in a different terminal and use the command-line client in there. But we don’t want to connect over the socket and bypass oauth, so we need to connect using the IP for the private network of the PostgreSQL server:
|
1 2 |
# docker inspect postgresql -f '{{ .NetworkSettings.Networks.bridge.IPAddress }}' 172.17.0.4 |
Now, access the PostgreSQL container:
|
1 |
docker exec -it postgresql bash |
And give it the first try:
|
1 2 |
# psql 'host=172.17.0.4 user=employees dbname=promo oauth_issuer=http://172.17.0.3:8080/realms/master oauth_client_id=postgres' psql: error: connection to server at "172.17.0.4", port 5432 failed: OAuth discovery URI "http://172.17.0.3:8080/realms/master/.well-known/openid-configuration" must use HTTPS |
All right, so it failed: “OAuth discovery URI (…) must use HTTPS”.
We have two choices:
- Configure a valid SSL certificate in our test Keycloak server.
- Bypass this HTTPS requirement using the PGOAUTHDEBUG flag, which was designed for tests like this.
|
NOTE: While very useful for troubleshooting authentication issues in general and bypassing the HTTPS requirement for tests like this one, running the psql PostgreSQL client with PGOAUTHDEBUG set to “UNSAFE” will expose authentication data returned by the provider, such as access tokens, in the terminal output. Treat it as sensitive data and do not share it with anyone. |
Now that we understand the implications of using this flag, let’s proceed with the second option:
|
1 |
PGOAUTHDEBUG=UNSAFE psql 'host=172.17.0.4 user=employees dbname=promo oauth_issuer=http://172.17.0.3:8080/realms/master oauth_client_id=postgres' |
Ok, we need to act fast now; in the middle of the vast debug info that ensues, there is a line with a link to access the Keycloak server and a code, as shown below:
|
1 |
Visit http://172.17.0.3:8080/realms/master/device and enter the code: ZBBE-PXDB |
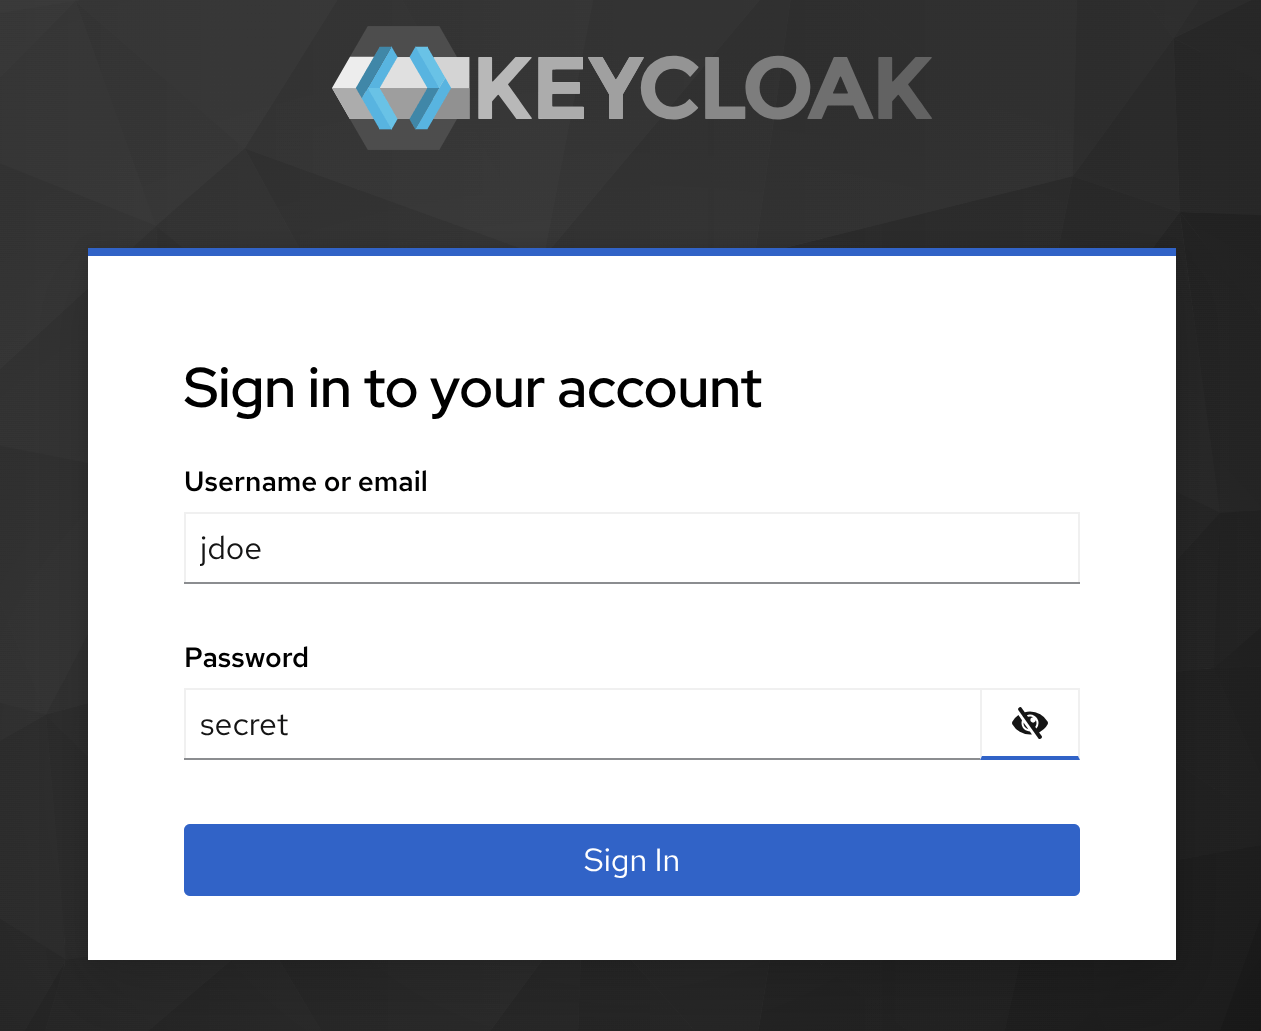
Click on the link and enter the code in the Keycloak page that opens:

Next, provide the credentials for the test user:
Finally, “consent” the client (postgres) access to the information available in the scopes it is (pre) configured to (among which is our target, profile):
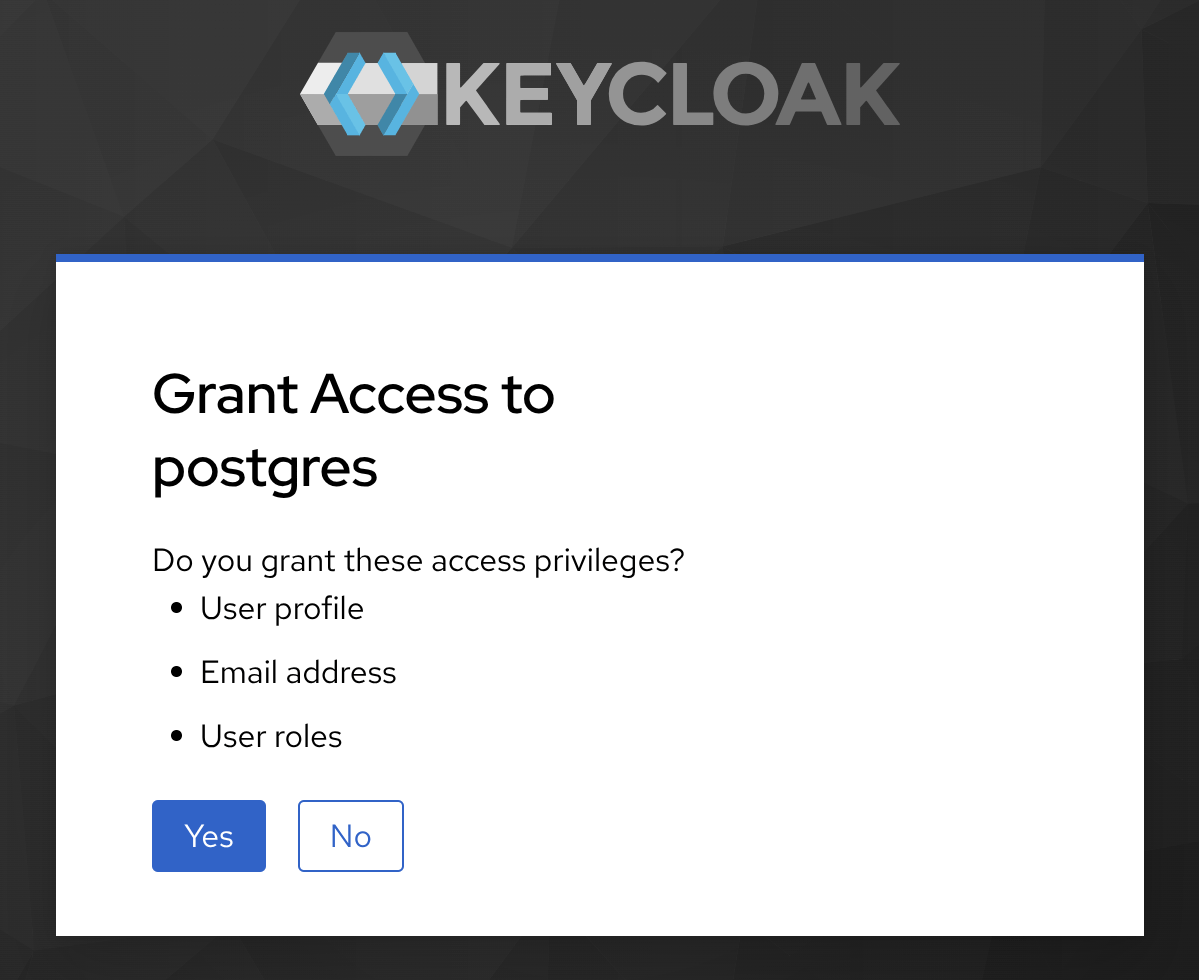
Click on Yes, and you should see the following message:
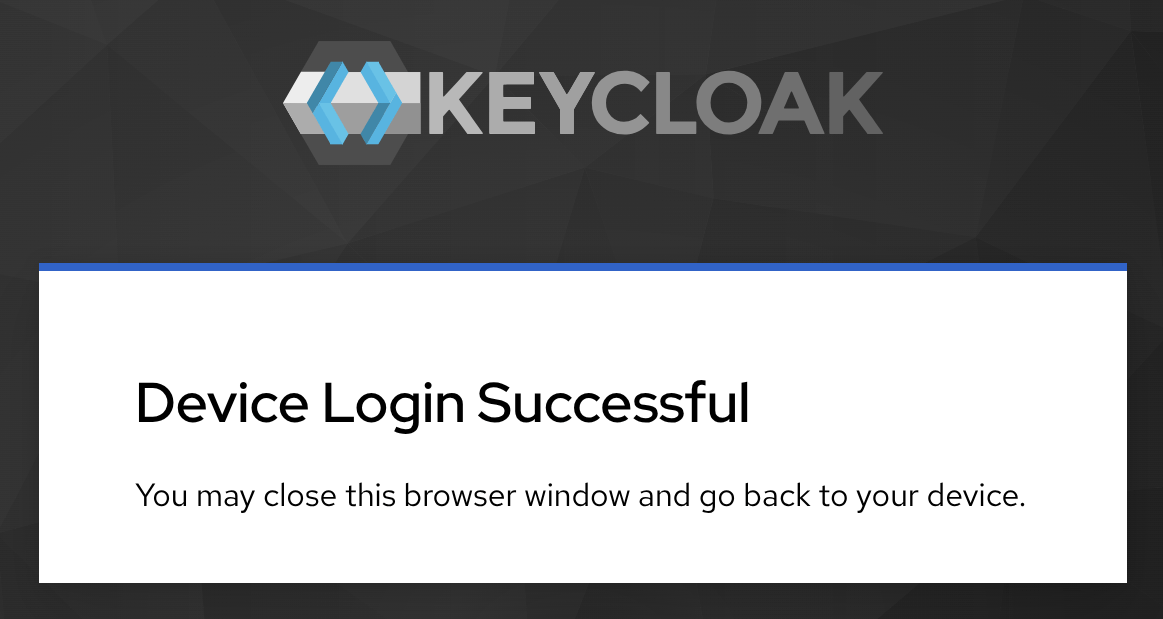
If everything goes well, you should be able to query the discount code as user employees:
|
1 2 3 4 5 |
promo=> select code from dcode; code --------- SAVENOW (1 row) |
Using Microsoft Entra as the authentication provider
If your organization uses Microsoft cloud services, you may be able to configure Entra as the authentication provider.
Creating an app
In the left menu, under Entra ID, click on App registrations. An “app” in Entra is equivalent to a “client” in Keycloak.
Click on New registration and give a name to your new app. I’ll use “postgres” here as well.
Under Supported account types, select the first option to allow access to “Accounts in this organizational directory only”.
Don’t set anything under Redirect URI; go ahead and click on the Register button.
You should find yourself under the Overview section of your new postgres app. Take note of two important IDs in the Essentials section:
- The Application (client) ID
- The Directory (tenant) ID
In the tab named Endpoints, take note of:
- OpenID Connect metadata document
We will need to configure different sections under the Manage menu; I’ll go over each of them below.
Authentication
In the Authentication section, you should already have “Accounts in this organizational directory only” selected as the Supported account type.
Under Advanced settings, Allow public client flows, change the toggle to “Yes” then click on Save.
Expose an API
As explained in our README.md file, we cannot validate JSON Web Tokens (JWTs) from Entra that do not include a custom scope, so we need to create one first. Here’s where we do this.
Click on Add a scope. I suggest you accept the custom Application ID URI that is generated for you and click on Save and continue. On the next screen, select a Scope name. I’ll call mine “custom-scope”. In fact, that’s going to be its short name; its full name is indicated just below the name field, and is composed as api://<API ID URI>//<short name>. My custom scope full name is api://71c29d63-d0e0-4d8c-a047-f6ce804042bf/custom-scope. This is important because we need to use this full name when configuring the scope in pg_hba.conf.
Below the name field, set Who can consent? to “Admins and users”. You can fill the other mandatory fields as you want; I’ve just used “custom-scope” in both of them. Make sure that State is set to “Enabled” and click on Add scope.
API permissions
We need to grant permission to our application to use the scope we just created. Click on Add a permission. Then, under My APIs, select postgres. Enable “custom-scope” under Permissions and click on Add permissions.
Our Entra app is ready now.
Configuring PostgreSQL
The PostgreSQL configuration for using Entra as the authentication provider is different than what we used for Keycloak.
postgresql.conf
There is no “email” field exposed by Entra, but we can use “unique_name” (or “upn”) to the same effect:
|
1 2 |
oauth_validator_libraries = 'pg_oidc_validator' pg_oidc_validator.authn_field = unique_name |
pg_ident.conf
Adjust the e-mail domain to match that used on Entra:
|
1 2 |
# MAPNAME SYSTEM-USERNAME DATABASE-USERNAME oidc /^(.*)@domain.com$ employees |
pg_hba.conf
Use the scope’s full name as scope and either the “OpenID Connect metadata document” endpoint you took note of as the issuer or its abbreviated version, which ends with “v2.0” (I’ve modified my tenant ID in the example below for obvious reasons):
|
1 2 |
# TYPE DATABASE USER ADDRESS METHOD host promo employees 0.0.0.0/0 oauth scope=api://71c29d63-d0e0-4d8c-a047-f6ce804042bf/custom-scope issuer=https://login.microsoftonline.com/90d69201-730f-11f0-abef-42010a800028/v2.0/.well-known/openid-configuration map=oidc |
Restart PostgreSQL for the changes to take effect:
|
1 |
docker restart postgresql |
Connecting to PostgreSQL
Finally, we can test connecting to PostgreSQL using Entra authentication. Get back inside the container:
|
1 |
docker exec -it postgresql bash |
and use psql to query our target table:
|
1 |
psql 'host=172.17.0.4 user=employees dbname=promo oauth_issuer=https://login.microsoftonline.com/467c4da8-aaaf-4324-91fc-2c62fec86bd4/v2.0/.well-known/openid-configuration oauth_client_id=71c29d63-d0e0-4d8c-a047-f6ce804042bf' -c "select code from dcode" |
You should see a prompt similar to the one below:
|
1 |
Visit https://microsoft.com/devicelogin and enter the code: F4D8E36RD |
Once you visit the Microsoft link and enter the code provided, you will have to go through similar steps as shown with Keycloak earlier in this document to complete the authentication process. If all goes right, the discount code will be displayed on the screen. If that doesn’t happen, check the PostgreSQL logs with docker logs postgresql for more details.
If you are having problems using our pg_oidc_validator, please check our community forum. If you don’t find the solution to your problem there, open a request for help.
About the Author
 Fernando Laudares Camargos
Fernando Laudares Camargos joined Percona in early 2013 after working 8 years for a Canadian company specialized in offering services based in open source technologies. Fernando's work experience includes the architecture, deployment and maintenance of IT infrastructures based on Linux, open source software and a layer of server virtualization. From the basic services such as DHCP & DNS to identity management systems, but also including backup routines, configuration management tools and thin-clients. He's now focusing on the universe of MySQL, MongoDB and PostgreSQL with a particular interest in understanding the intricacies of database systems and contributes regularly to this blog. You can read his other articles here.