
 In this post I’ll give to you the steps to compile Percona Server for MySQL 5.7.22 in Raspberry Pi 3. Why? Well because in general this little computer is cheap, has low power consumption, and is great to use as a test machine for developers.
By default Raspbian OS includes very few versions of MySQL to install
|
1 2 3 4 5 6 7 8 |
$ apt-cache search mysql | grep server ... mariadb-server-10.0 - MariaDB database server binaries mariadb-server-10.1 - MariaDB database server binaries mariadb-server-core-10.0 - MariaDB database core server files mariadb-server-core-10.1 - MariaDB database core server files mysql-server - MySQL database server binaries and system database setup [transitional] (5.5) ... |
If you want to install MySQL or MariaDB on an ARM architecture using official pre-built binaries, you are limited to those distributions and versions.
Roel Van de Paar wrote time ago this post “Percona Server on the Raspberry Pi: Your own MySQL Database Server for Under $80” using “Fedora ARM” like OS on the first versions of raspberry cards.
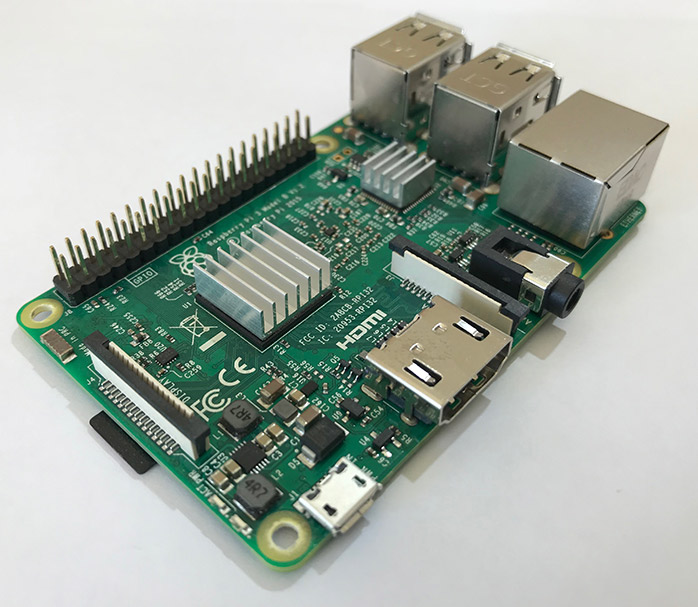
Now we will use the last version of Raspberry Pi 3 with Raspbian OS. In my case, the OS version is this
|
1 2 |
$ cat /etc/issue Raspbian GNU/Linux 9 n l |
Let’s start. We will need many devs packages and cmake to compile the source code. There is the command line to update or install all these packages:
|
1 |
apt-get install screen cmake debhelper autotools-dev libaio-dev wget automake libtool bison libncurses-dev libz-dev cmake bzr libgcrypt11-dev build-essential flex bison automake autoconf bzr libtool cmake libaio-dev mysql-client libncurses-dev zlib1g-dev libboost-dev |
Now we need to download the Percona Server for MySQL 5.7.22 source code and then we can proceed to compile.
Before starting to compile the source code, we will need to extend the swap memory. This is necessary to avoid encountering memory problems at compilation time.
|
1 2 3 4 |
$ dd if=/dev/zero of=/swapfile1GB bs=1M count=1024 $ mkswap /swapfile1GB $ swapon /swapfile1GB $ chmod 0600 /swapfile1GB |
Now we can check the memory and find that memory swap is correct
|
1 |
$ free -m |
This is the output in my case
|
1 2 3 4 5 |
$ free -m total used free shared buff/cache available Mem: 927 176 92 2 658 683 Swap: 1123 26 1097 |
I recommend to use a screen session to compile the source code, because it takes a lot of time.
|
1 2 3 4 5 6 7 8 |
$ cd /root $ screen -SL compile_percona_server $ wget https://www.percona.com/downloads/Percona-Server-LATEST/Percona-Server-5.7.22-22/source/tarball/percona-server-5.7.22-22.tar.gz $ tar czf percona-server-5.7.22-22.tar.gz $ cd percona-server-5.7.22-22 $ cmake -DDOWNLOAD_BOOST=ON -DWITH_BOOST=$HOME/my_boost . $ make $ make install |
After it has compiled and installed successfully, it’s time to create our datadir directory for this Percona Server version, and the mysql user. Feel free to use other directory names
|
1 2 3 |
$ mkdir /var/lib/mysql $ useradd mysql -d /var/lib/mysql $ chown mysql.mysql /var/lib/mysql |
Now it’s time to create a minimal my.cnf config file to start mysql, you can use the below example
|
1 2 3 4 5 6 7 8 9 10 11 12 13 14 15 16 17 |
$ vim /data/percona-5.6.38/my.cnf [mysql] socket=/var/lib/mysql/mysql.sock [mysqld] datadir = /var/lib/mysql server_id = 2 binlog-format = row log_bin = /var/lib/mysql/binlog innodb_buffer_pool_size = 128M socket=/var/lib/mysql/mysql.sock symbolic-links=0 [mysqld_safe] log-error=/var/lib/mysql/mysqld.log pid-file=/var/lib/mysql/mysqld.pid |
then we need to initialize the initial databases/schemas, ibdata and ib_logfile files with the next command
|
1 |
$ /usr/local/mysql/bin/mysqld --initialize-insecure --user=mysql --basedir=/usr/local/mysql --datadir=/var/lib/mysql |
now—finally—it’s time start MySQL
|
1 |
$ /usr/local/mysql/bin/mysqld_safe --defaults-file=/etc/my.cnf --user=mysql & |
We can check if MySQL started or not, by taking a look at the mysqld.log file
|
1 2 3 4 5 6 7 8 9 |
$ cat /var/lib/mysql/mysqld.log ... 2018-08-13T16:44:55.067352Z 0 [Note] Server hostname (bind-address): '*'; port: 3306 2018-08-13T16:44:55.067576Z 0 [Note] IPv6 is available. 2018-08-13T16:44:55.067680Z 0 [Note] - '::' resolves to '::'; 2018-08-13T16:44:55.067939Z 0 [Note] Server socket created on IP: '::'. 2018-08-13T16:44:55.258576Z 0 [Note] Event Scheduler: Loaded 0 events 2018-08-13T16:44:55.259525Z 0 [Note] /usr/local/mysql/bin/mysqld: ready for connections. Version: '5.7.22-22-log' socket: '/var/lib/mysql/mysql.sock' port: 3306 Source distribution |
In our example it started ok.
Remember MySQL server was installed and started using an alternative path.
Now it’s time to connect and check if everything is running well.
|
1 2 3 4 5 6 7 8 9 10 11 12 13 14 15 16 17 18 19 20 21 22 23 24 25 |
$ /usr/local/mysql/bin/mysql -uroot Welcome to the MySQL monitor. Commands end with ; or g. Your MySQL connection id is 4 Server version: 5.7.22-22-log Source distribution Copyright (c) 2009-2018 Percona LLC and/or its affiliates Copyright (c) 2000, 2018, Oracle and/or its affiliates. All rights reserved. Oracle is a registered trademark of Oracle Corporation and/or its affiliates. Other names may be trademarks of their respective owners. Type 'help;' or 'h' for help. Type 'c' to clear the current input statement. mysql> show databases; +--------------------+ | Database | +--------------------+ | information_schema | | mysql | | performance_schema | | sys | +--------------------+ 4 rows in set (0.00 sec) |
To check the version that’s running, you can use the next command
|
1 2 3 4 5 6 7 8 9 10 11 12 13 14 15 |
mysql> SHOW VARIABLES LIKE "%version%"; +-------------------------+---------------------+ | Variable_name | Value | +-------------------------+---------------------+ | innodb_version | 5.7.22-22 | | protocol_version | 10 | | slave_type_conversions | | | tls_version | TLSv1,TLSv1.1 | | version | 5.7.22-22-log | | version_comment | Source distribution | | version_compile_machine | armv7l | | version_compile_os | Linux | | version_suffix | -log | +-------------------------+---------------------+ 9 rows in set (0.02 sec) |
Keep in mind that you have configured the datadir directory in the same microSD where are you running the OS: MySQL will run slowly. If you create a new table perhaps it will take a few seconds. So, I recommend that you use a separate USB SSD disk, and move the datadir directory to this SSD disk. That’s more useful and the performance is much better
I hope you enjoyed this guide on how to use a tiny server to install Percona Server for MySQL.
If you want to test other versions, please go ahead: the steps will be very similar to these.
Your application or website depend on your database to deliver information about your products and services to your customers. A high traffic event, such as Cyber Monday, can stress the availability of your database. Statistics show that 40% of users abandon a website if it takes longer than three seconds to load. Our preparatory checklist can help your business avoid and mitigate the effects of high traffic events and help keep business running as usual.
In his blog, Percona CEO Peter Zaitsev examines the four ways MySQL executes GROUP BY, a clause that could be responsible for 90% or more of your query’s execution time. Peter also discusses what to do when MySQL GROUP BY does not make the right choice when it comes to resolving the WHERE clause.


Thank you Walter! A fast SD card may also help to improve performance!