
In this blog post, I will show you how easy it is to set up a Percona Monitoring and Management server on Google Compute Engine from the command line.
First off you will need to have a Google account and install the Cloud SDK tool. You need to create a GCP (Google Cloud Platform) project and enable billing to proceed. This blog assumes you are able to authenticate and SSH into instances from the command line.
Here are the steps to install PMM server in Google Cloud Platform.
1) Create the Compute engine instance with the following command. The example creates an Ubuntu Xenial 16.04 LTS compute instance in the us-west1-b zone with a 100GB persistent disk. For production systems it would be best to use a 500GB disk instead (size=500GB). This should be enough for default data retention settings, although your needs may vary.
|
1 2 3 4 |
jerichorivera@percona-support:~/GCE$ gcloud compute instances create pmm-server --tags pmmserver --image-family ubuntu-1604-lts --image-project ubuntu-os-cloud --machine-type n1-standard-4 --zone us-west1-b --create-disk=size=100GB,type=pd-ssd,device-name=sdb --description "PMM Server on GCP" --metadata-from-file startup-script=deploy-pmm-xenial64.sh Created [https://www.googleapis.com/compute/v1/projects/thematic-acumen-204008/zones/us-west1-b/instances/pmm-server]. NAME ZONE MACHINE_TYPE PREEMPTIBLE INTERNAL_IP EXTERNAL_IP STATUS pmm-server us-west1-b n1-standard-4 10.138.0.2 35.233.216.225 RUNNING |
Notice that we’ve used --metadata-from-file startup-script=deploy-pmm-xenial64.sh The file has the following contents:
|
1 2 3 4 5 6 7 8 9 10 11 12 13 14 15 16 17 18 19 20 21 22 23 24 25 26 27 28 29 30 31 32 33 34 35 36 37 38 39 40 |
jerichorivera@percona-support:~$ cat GCE/deploy-pmm-xenial64.sh #!/bin/bash set -v sudo apt-get update sudo apt-get upgrade -y sudo apt-get install apt-transport-https ca-certificates curl software-properties-common curl -fsSL https://download.docker.com/linux/ubuntu/gpg | sudo apt-key add - sudo add-apt-repository "deb [arch=amd64] https://download.docker.com/linux/ubuntu $(lsb_release -cs) stable" sudo apt-get update # Format the persistent disk, mount it then add to /etc/fstab sudo mkfs.ext4 -m 0 -F -E lazy_itable_init=0,lazy_journal_init=0,discard /dev/sdb sudo mkdir -p /mnt/disks/pdssd sudo mount -o discard,defaults /dev/sdb /mnt/disks/pdssd/ sudo chmod a+w /mnt/disks/pdssd/ sudo cp /etc/fstab /etc/fstab.backup echo UUID=`sudo blkid -s UUID -o value /dev/sdb` /mnt/disks/pdssd ext4 discard,defaults,nofail 0 2 | sudo tee -a /etc/fstab # Change docker's root directory before installing Docker sudo mkdir /etc/systemd/system/docker.service.d/ cat << EOF > /etc/systemd/system/docker.service.d/docker.root.conf [Service] ExecStart= ExecStart=/usr/bin/dockerd -H fd:// -g /mnt/disks/pdssd/docker/ EOF sudo apt-get install -y docker-ce # Creates the deploy.sh script cat << EOF > /tmp/deploy.sh #!/bin/bash set -v docker pull percona/pmm-server:1 docker create -v /opt/prometheus/data -v /opt/consul-data -v /var/lib/mysql -v /var/lib/grafana --name pmm-data percona/pmm-server:1 /bin/true docker run -d -p 80:80 --volumes-from pmm-data --name pmm-server --restart always percona/pmm-server:1 EOF |
This startup script will be executed right after the compute instance is created. The script will format the persistent disk and mount the file system; create a custom Docker unit file for the purpose of creating Docker’s root directory from /var/lib/docker to /mnt/disks/pdssd/docker; install the Docker package; and create the deploy.sh script.
2) Once the compute engine instance is created, SSH into the instance, check that Docker is running and the root directory pointing to the desired folder.
|
1 2 3 4 5 6 7 8 9 10 11 12 13 14 15 16 17 18 19 20 21 22 |
jerichorivera@pmm-server:~$ sudo systemctl status docker ● docker.service - Docker Application Container Engine Loaded: loaded (/lib/systemd/system/docker.service; enabled; vendor preset: enabled) Drop-In: /etc/systemd/system/docker.service.d └─docker.root.conf Active: active (running) since Wed 2018-05-16 12:53:30 UTC; 45s ago Docs: https://docs.docker.com Main PID: 4744 (dockerd) CGroup: /system.slice/docker.service ├─4744 /usr/bin/dockerd -H fd:// -g /mnt/disks/pdssd/docker/ └─4764 docker-containerd --config /var/run/docker/containerd/containerd.toml May 16 12:53:30 pmm-server dockerd[4744]: time="2018-05-16T12:53:30.391566708Z" level=warning msg="Your kernel does not support swap memory limit" May 16 12:53:30 pmm-server dockerd[4744]: time="2018-05-16T12:53:30.391638253Z" level=warning msg="Your kernel does not support cgroup rt period" May 16 12:53:30 pmm-server dockerd[4744]: time="2018-05-16T12:53:30.391680203Z" level=warning msg="Your kernel does not support cgroup rt runtime" May 16 12:53:30 pmm-server dockerd[4744]: time="2018-05-16T12:53:30.392913043Z" level=info msg="Loading containers: start." May 16 12:53:30 pmm-server dockerd[4744]: time="2018-05-16T12:53:30.767048674Z" level=info msg="Default bridge (docker0) is assigned with an IP address 172.17.0.0/16. Daemon option --bip can be used to set a preferred IP address" May 16 12:53:30 pmm-server dockerd[4744]: time="2018-05-16T12:53:30.847907241Z" level=info msg="Loading containers: done." May 16 12:53:30 pmm-server dockerd[4744]: time="2018-05-16T12:53:30.875129963Z" level=info msg="Docker daemon" commit=9ee9f40 graphdriver(s)=overlay2 version=18.03.1-ce May 16 12:53:30 pmm-server dockerd[4744]: time="2018-05-16T12:53:30.875285809Z" level=info msg="Daemon has completed initialization" May 16 12:53:30 pmm-server dockerd[4744]: time="2018-05-16T12:53:30.884566419Z" level=info msg="API listen on /var/run/docker.sock" May 16 12:53:30 pmm-server systemd[1]: Started Docker Application Container Engine. |
3) Add your user to the docker group as shown below and change deploy.sh script to executable.
|
1 2 |
jerichorivera@pmm-server:~$ sudo usermod -aG docker $USER jerichorivera@pmm-server:~$ sudo chmod +x /tmp/deploy.sh |
4) Log off from the instance, and then log back in and then execute the deploy.sh script.
|
1 2 3 4 5 6 7 8 9 10 11 12 13 |
jerichorivera@pmm-server:~$ cd /tmp/ jerichorivera@pmm-server:/tmp$ ./deploy.sh docker pull percona/pmm-server:1 latest: Pulling from percona/pmm-server 697841bfe295: Pull complete fa45d21b9629: Pull complete Digest: sha256:98d2717b4f0ae83fbca63330c39590d69a7fca7ae6788f52906253ac75db6838 Status: Downloaded newer image for percona/pmm-server:1 docker create -v /opt/prometheus/data -v /opt/consul-data -v /var/lib/mysql -v /var/lib/grafana --name pmm-data percona/pmm-server:1 /bin/true 8977102d419cf8955fd8bbd0ed2c663c75a39f9fbc635238d56b480ecca8e749 docker run -d -p 80:80 --volumes-from pmm-data --name pmm-server --restart always percona/pmm-server:1 83c2e6db2efc752a6beeff0559b472f012062d3f163c042e5e0d41cda6481d33 |
5) Finally, create a firewall rule to allow HTTP port 80 to access the PMM Server. For security reasons, we recommend that you secure your PMM server by adding a password, or limit access to it with a stricter firewall rule to specify which IP addresses can access port 80.
|
1 2 3 4 5 6 7 8 9 10 11 12 |
jerichorivera@percona-support:~$ gcloud compute firewall-rules create allow-http-pmm-server --allow tcp:80 --target-tags pmmserver --description "Allow HTTP traffic to PMM Server" Creating firewall...-Created [https://www.googleapis.com/compute/v1/projects/thematic-acumen-204008/global/firewalls/allow-http-pmm-server]. Creating firewall...done. NAME NETWORK DIRECTION PRIORITY ALLOW DENY allow-http-pmm-server default INGRESS 1000 tcp:80 jerichorivera@percona-support:~/GCE$ gcloud compute firewall-rules list NAME NETWORK DIRECTION PRIORITY ALLOW DENY allow-http-pmm-server default INGRESS 1000 tcp:80 default-allow-icmp default INGRESS 65534 icmp default-allow-internal default INGRESS 65534 tcp:0-65535,udp:0-65535,icmp default-allow-rdp default INGRESS 65534 tcp:3389 default-allow-ssh default INGRESS 65534 tcp:22 |
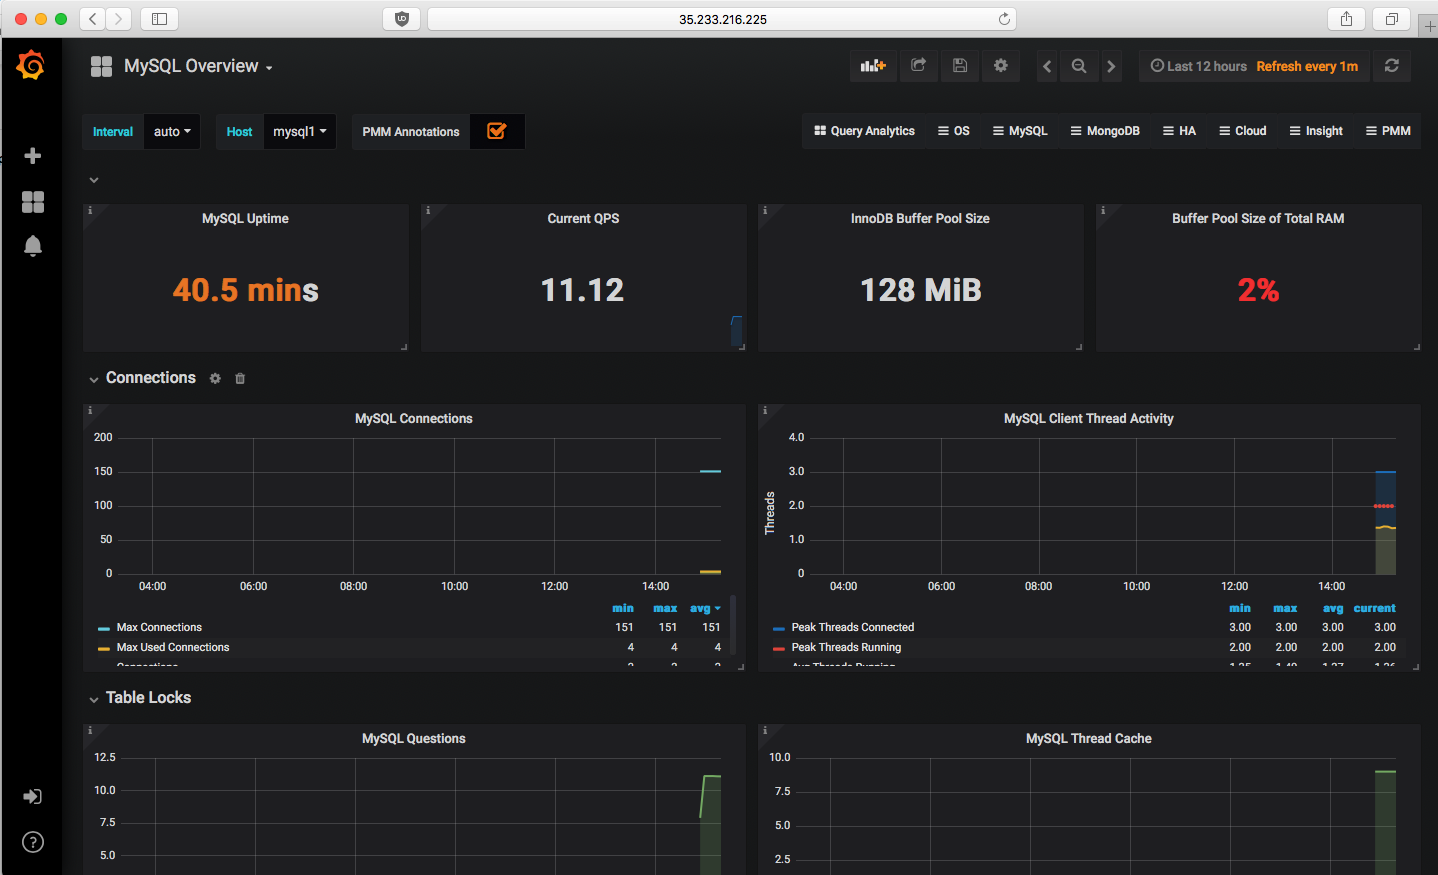
At this point you should have a PMM Server in GCP running on a Compute Engine instance.
The next steps is to install pmm-client on the database hosts and add services for monitoring.
Here I’ve launched a single standalone Percona Server 5.6 on another Compute Engine instance in the same project (thematic-acumen-204008).
|
1 2 3 4 |
jerichorivera@percona-support:~/GCE$ gcloud compute instances create mysql1 --tags mysql1 --image-family centos-7 --image-project centos-cloud --machine-type n1-standard-2 --zone us-west1-b --create-disk=size=50GB,type=pd-standard,device-name=sdb --description "MySQL1 on GCP" --metadata-from-file startup-script=compute-instance-deploy.sh Created [https://www.googleapis.com/compute/v1/projects/thematic-acumen-204008/zones/us-west1-b/instances/mysql1]. NAME ZONE MACHINE_TYPE PREEMPTIBLE INTERNAL_IP EXTERNAL_IP STATUS mysql1 us-west1-b n1-standard-2 10.138.0.3 35.233.187.253 RUNNING |
Installed Percona Server 5.6 and pmm-client and then added services. Take note that since the PMM Server and the MySQL server is in the same project and same VPC network, we can connect directly through INTERNAL_IP 10.138.0.2, otherwise use the EXTERNAL_IP 35.223.216.225.
|
1 2 3 4 5 6 7 8 9 10 11 12 13 14 15 16 17 18 19 20 21 22 23 24 25 26 27 28 29 30 31 32 33 34 35 36 37 38 39 40 41 42 43 44 45 46 47 48 49 50 51 52 |
[root@mysql1 jerichorivera]# pmm-admin config --server 10.138.0.2 OK, PMM server is alive. PMM Server | 10.138.0.2 Client Name | mysql1 Client Address | 10.138.0.3 [root@mysql1 jerichorivera]# [root@mysql1 jerichorivera]# pmm-admin check-network PMM Network Status Server Address | 10.138.0.2 Client Address | 10.138.0.3 * System Time NTP Server (0.pool.ntp.org) | 2018-05-22 06:45:47 +0000 UTC PMM Server | 2018-05-22 06:45:47 +0000 GMT PMM Client | 2018-05-22 06:45:47 +0000 UTC PMM Server Time Drift | OK PMM Client Time Drift | OK PMM Client to PMM Server Time Drift | OK * Connection: Client --> Server -------------------- ------- SERVER SERVICE STATUS -------------------- ------- Consul API OK Prometheus API OK Query Analytics API OK Connection duration | 408.185µs Request duration | 6.810709ms Full round trip | 7.218894ms No monitoring registered for this node identified as 'mysql1'. [root@mysql1 jerichorivera]# pmm-admin add mysql --create-user [linux:metrics] OK, now monitoring this system. [mysql:metrics] OK, now monitoring MySQL metrics using DSN pmm:***@unix(/mnt/disks/disk1/data/mysql.sock) [mysql:queries] OK, now monitoring MySQL queries from slowlog using DSN pmm:***@unix(/mnt/disks/disk1/data/mysql.sock) [root@mysql1 jerichorivera]# pmm-admin list pmm-admin 1.10.0 PMM Server | 10.138.0.2 Client Name | mysql1 Client Address | 10.138.0.3 Service Manager | linux-systemd -------------- ------- ----------- -------- ----------------------------------------------- ------------------------------------------ SERVICE TYPE NAME LOCAL PORT RUNNING DATA SOURCE OPTIONS -------------- ------- ----------- -------- ----------------------------------------------- ------------------------------------------ mysql:queries mysql1 - YES pmm:***@unix(/mnt/disks/disk1/data/mysql.sock) query_source=slowlog, query_examples=true linux:metrics mysql1 42000 YES - mysql:metrics mysql1 42002 YES pmm:***@unix(/mnt/disks/disk1/data/mysql.sock) |
Lastly, in case you need to delete the PMM Server instance. Just execute this delete command below to completely remove the instance and the attached disk. Be aware that you may remove the boot disk and retain the attached persistent disk if you prefer.
|
1 2 3 4 5 6 7 8 9 10 11 |
jerichorivera@percona-support:~/GCE$ gcloud compute instances delete pmm-server The following instances will be deleted. Any attached disks configured to be auto-deleted will be deleted unless they are attached to any other instances or the `--keep-disks` flag is given and specifies them for keeping. Deleting a disk is irreversible and any data on the disk will be lost. - [pmm-server] in [us-west1-b] Do you want to continue (Y/n)? y Deleted [https://www.googleapis.com/compute/v1/projects/thematic-acumen-204008/zones/us-west1-b/instances/pmm-server]. |
The other option is to install PMM on Google Container engine which was explained by Manjot Singh in his blog post.


Hi Jericho.
This configuration (n1-standard-4 + 500gb) is about collecting from how many instances ?
I’ve made this steps above using exactly the same configurations and added 15 RDS instances.
Then it started to use 100% of CPU after 4 days uptime, in an interval of 1 hour aproximattely.
My pmm docker is running with the configuration bellow:
docker run -d -p 80:80 –volumes-from pmm-data –name pmm-server –restart always -e METRICS_RESOLUTION=5s -e METRICS_RETENTION=360h -e QUERIES_RETENTION=360h percona/pmm-server:latest
Is there a way to monitor Google CloudSQL with PMM? I have used PMM(QAN <3) and it worked great, now I want to monitor some instances that I have on CloudSQL, is that possible? Can I monitor RDS also?
How to add a remote MySQL server to a PMM server at the command line level?We were able to add through GUI but we want to add through command level to automate the process..
Thanks in advance..
Hi ,
How can we pull the o.s metrics of a cloudsql instance [Not compute instance on which we install mysql separtely]
As we cannot directly log in to cloudsql instance, how can we install pmm client on that