
 Database backups are a fundamental requirement in almost every implementation, no matter the size of the company or the nature of the application. Taking a backup should be a simple task that can be automated to ensure it’s done consistently and on schedule. Percona has an enterprise-grade backup tool, Percona XtraBackup, that can be used to accomplish these tasks. Percona also has a Percona Operator for MySQL based on Percona XtraDB Cluster (PXC Operator), which has Percona XtraBackup built into it. Percona XtraBackup has the ability for both automated and on-demand backups. Today we will explore taking backups and restoring these backups using the PXC Operator deployed on Google Cloud Platform’s Google Kubernetes Engine.
 There are two different storage types and backup methods we can use to store backups via the PXC Operator. The first storage type we can use is a Persistent Volume Claim (PVC), which is essentially a ‘ticket’ that requests to use a storage class defined as a Persistent Volume (PV). A PV can be a variety of storage types such as local disk, NFS, or most commonly a block storage (GCP Persistent Disk, AWS EBS, etc.). The second type of storage for backups is by using the S3 protocol or S3 protocol compatible object storage.
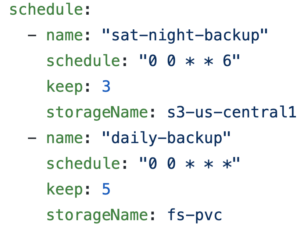
There are also two types of backups we can take in regards to the timing of backups. We can take on-demand backups or scheduled backups. The PXC Operator’s deploy/cr.yaml can be edited to schedule backups that are automated. We can configure the backup schedule using Unix cron string format. We can also take a backup on-demand, by running a single command which we will demonstrate below.
When a backup job is launched using a PVC, the PXC Operator will launch a Pod that will connect to the PXC as a 4th member and leverage PXC’s native auto-join capability by starting a State Snapshot (SST). An SST is a full data copy from one node (donor) to the joining node (joiner). The SST is received as a single xbstream file and stored in the volume along with an MD5 checksum of the backup. Xbstream is a custom streaming format that supports simultaneous compression and streaming.
Like the PVC method, when an S3-based backup job is launched, the PXC Operator will launch a new Pod that will connect to the PXC as a 4th member and will start an SST. The SST is streamed from a donor node as an xbstream to the configured S3 endpoint using xbcloud. The purpose of xbcloud is to download and upload a full or part of xbstream archive to or from the cloud.
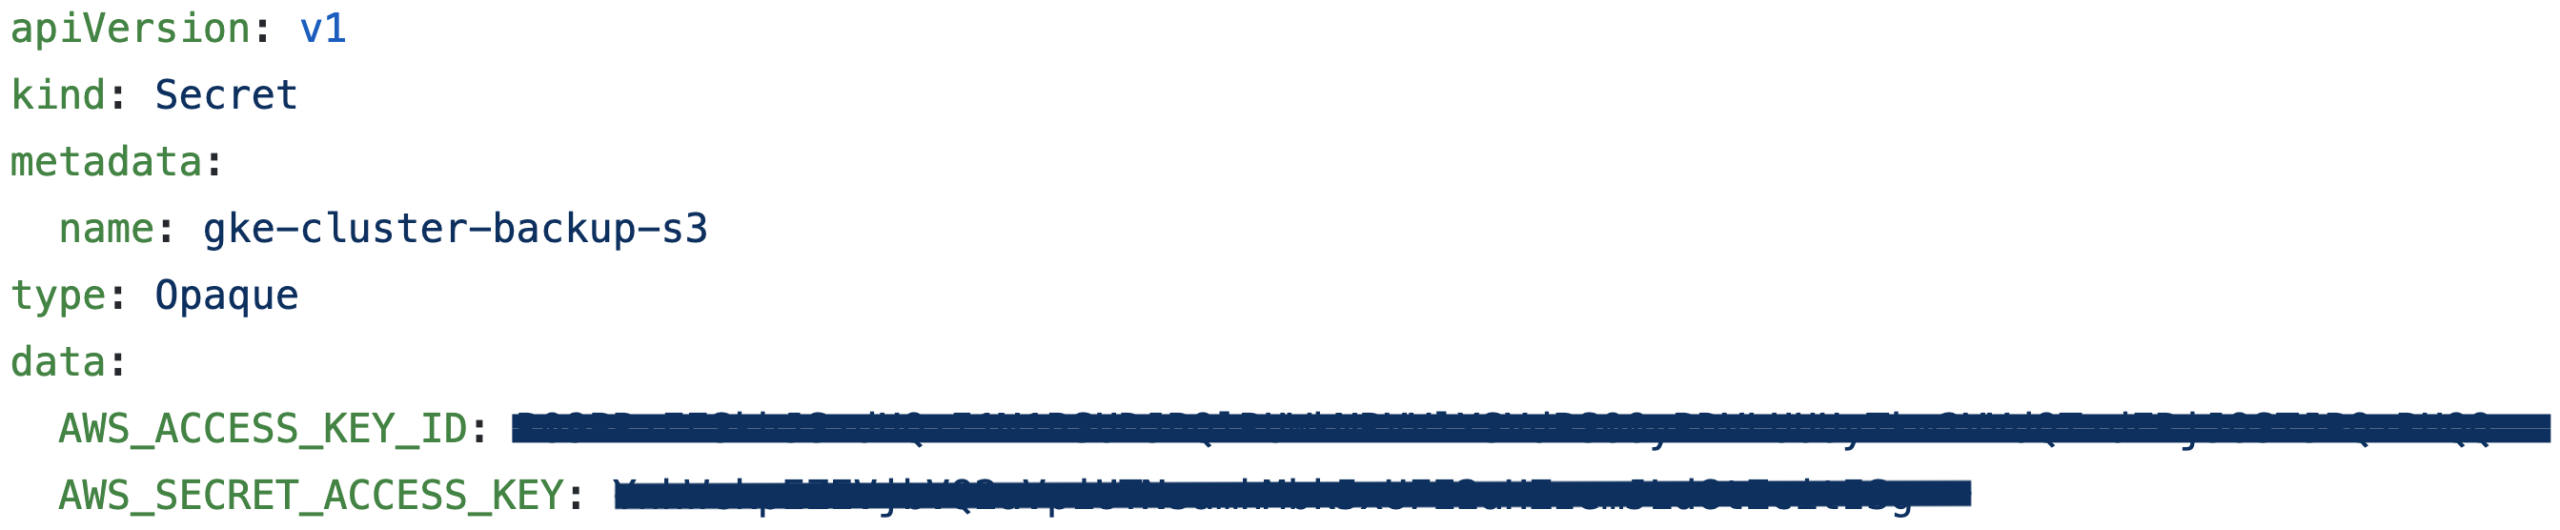
The first step is to add in our access and secret access keys. Each cloud service provider has a different method of distributing these keys.
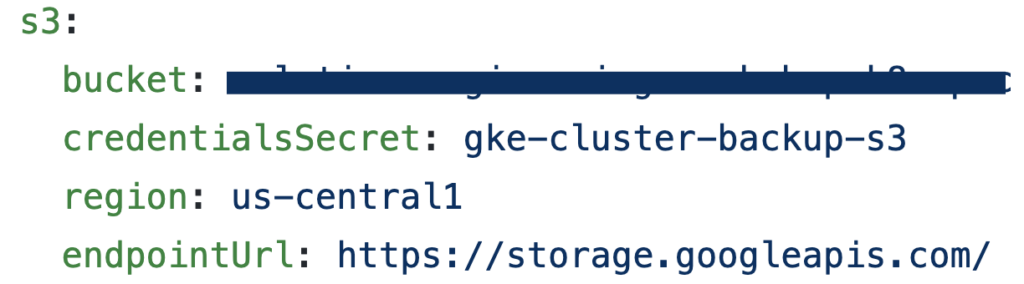
Next, we can go to our deploy/cr.yaml and edit the bucket information. If we wanted to edit the automated backup schedule, we would simply go down a few more lines in deploy/cr.yaml and edit the schedule.
Finally, we need to ensure that our storageName in deploy/backup/backup.yaml matches the name that is in our deploy/cr.yaml. We are now ready to take backups!
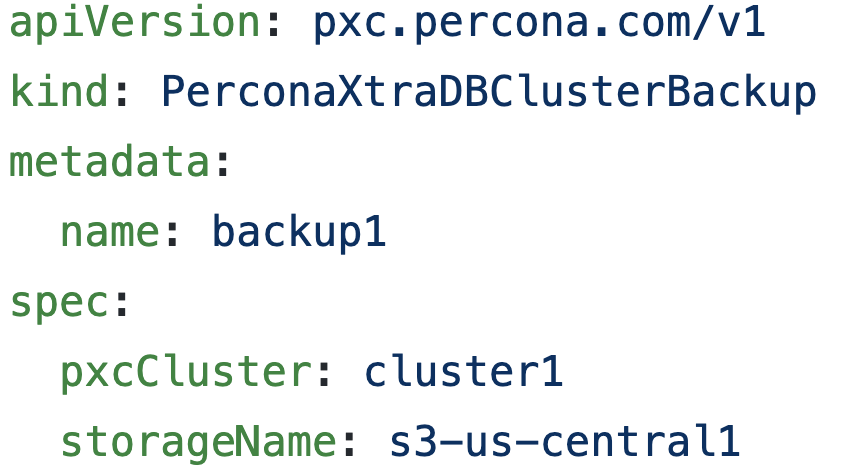
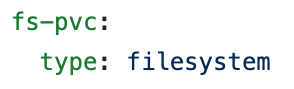
We will explore taking an on-demand S3 backup. If you want to use a PVC, this can also be configured in deploy/cr.yaml. Keep in mind that the PVC for the filesystem-type backup storage should request enough space to fit all of the backup data.
To take an on-demand backup we would run the command below and can display the backup Pod’s name as well.
|
1 2 |
kubectl apply -f deploy/backup.yaml kubectl get pods | grep backup1 |

In order to list all of the backups, you would run the following command.
|
1 |
kubectl get pxc-backups |

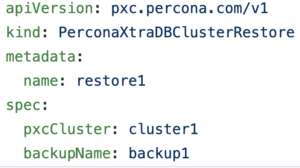
Now that we have the name of the backup, we would edit the backupName in deploy/backup/restore.yaml In order to restore a backup, we would run the following command. We can also get the name of the restoring Pod.
|
1 2 |
kubectl apply -f deploy/restore.yaml kubectl get pods | grep restore |

As we saw, backups can be accomplished very quickly and easily thanks to the efforts of Percona’s Engineer Team. If you’d like to learn more about this process, you can take a look at the documentation.
Resources
RELATED POSTS


Hi. Nice post about the backup solution in kubernetes. What we’re really missing is the option to have incremental backups (daily), and full backups (weekly). In our current production environment, the database is several TiB in size, and changes several 50 GiBs daily. Taking full backups daily wastes a lot of space, and takes ages… Therefore, we implemented an incremental backup strategy (using dotmanila/pyxbackup), but we would love to move this to a pure kubernetes solution…
May be there is some development effort in this direction?
Best
Stefan
Thanks for the feedback Stefan! I’ve discussed your question internally with our Product team and was informed that we have incremental backups on the roadmap for the PXC Operator along with a point-in-time-recovery solution. I don’t have an ETA for when these will be available currently, but if you’re an active Percona subscriber it would be helpful if you would submit a support ticket requesting the feature so we can reach out to you when it’s available for early testing.
I couldn’t restore the backup to a new cluster with this setup. When I tried, it started restoring it to my database where backup was taken from not the one I specified with pxcCluste specification. Is this possible ?
See if this forum post helps
https://forums.percona.com/discussion/comment/56809#Comment_56809
Sorry, I mean to post about PXC – Our Forums have a few post on this topic.
https://forums.percona.com/discussion/56153/how-to-initialize-a-new-cluster-from-a-s3-backup
Is it possible to make this SST happend within same AZ by launching the 4th pod in same AZ as donor or making the donor same as the joiner’s AZ?