I’ve been working with Kubernetes and databases for the past few months, and I’m enjoying learning and exploring more about Percona Everest’s features. Percona Everest is a free, open source tool that makes it easier for teams to manage databases in the cloud.
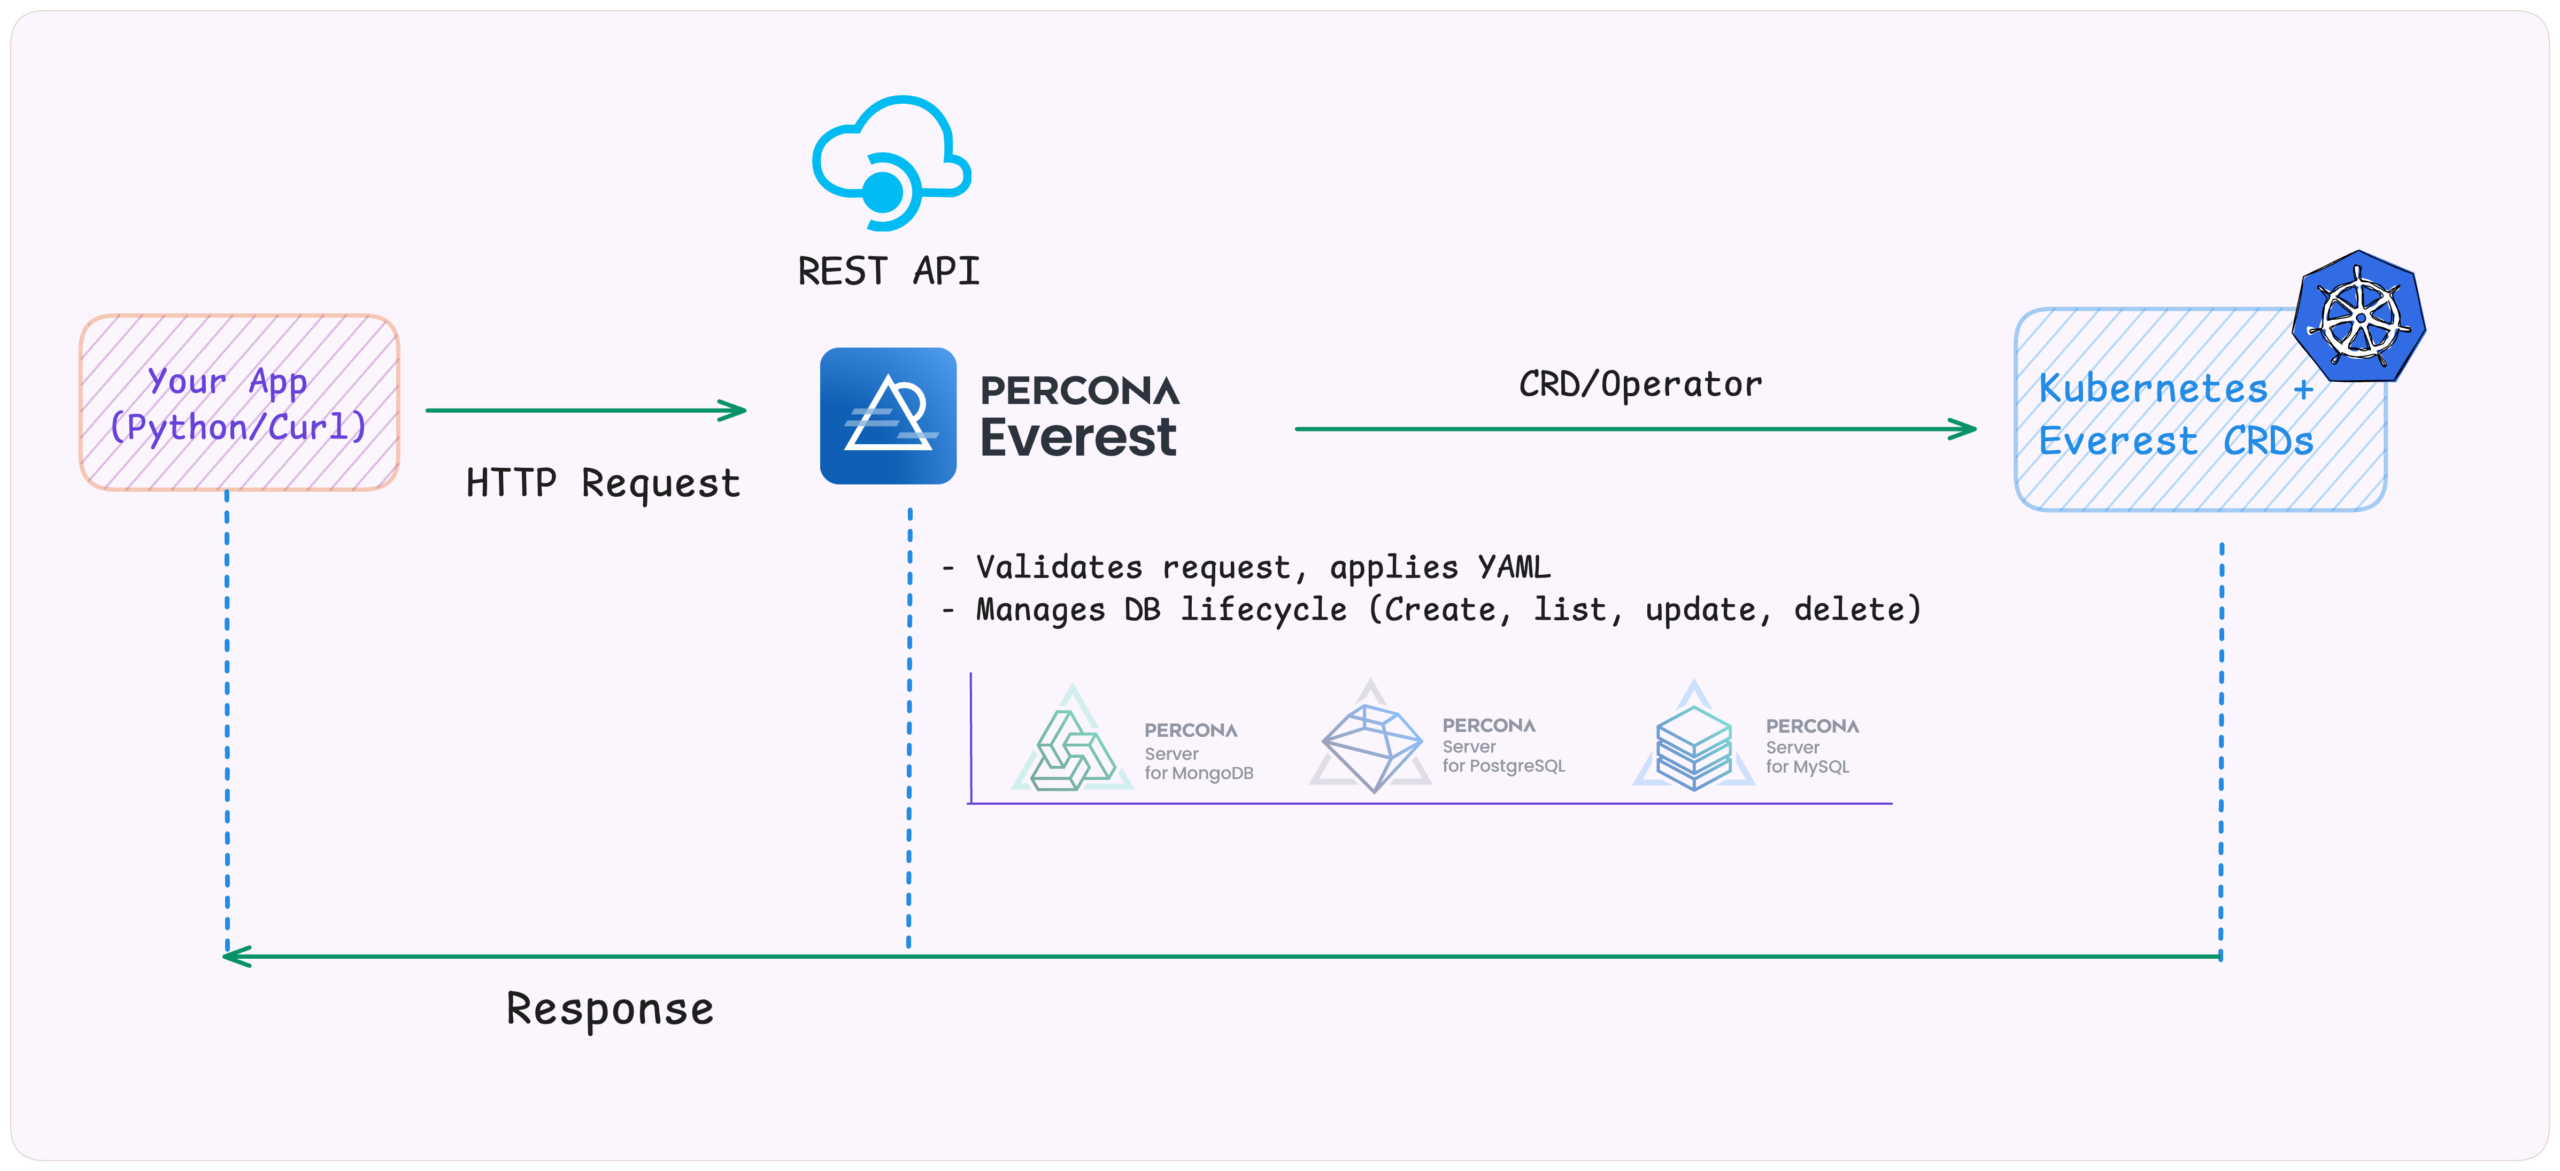
In a Cloud Native world, everything is programmable, including databases. Percona Everest provides a REST API that lets you manage databases like any other Kubernetes resource, using code, automation, and complete control. To explore this more deeply, I created a friendly and straightforward Python demo app to show how to integrate Everest’s APIs with internal tools.
In this article, we’ll explore how to use APIs to interact with databases in a Kubernetes environment using Percona Everest. I’ve built a simple Python demo, everest-api-demo, that shows how to create, manage, and delete database clusters without using the UI or CLI.
We will cover:
Note: Percona Everest also supports MySQL and MongoDB, but we’ll save those for another blog post.
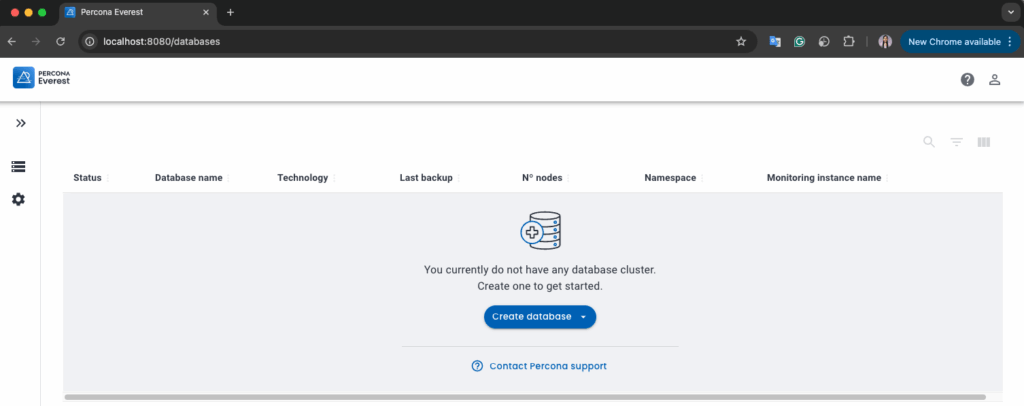
When I started, I wondered if I had to do everything through the UI. There had to be a better way.
An API (Application Programming Interface) lets two systems talk to each other. You send a request (like “create a database”), and the system responds with data or performs an action.
For example, travel sites don’t own the aeroplanes; they use APIs to get real-time info from different airlines. Percona Everest works similarly: instead of clicking through a UI, you can use its API to automate database operations.
For databases, this means no more manual clicking or editing YAML files. With Percona Everest, you can provision PostgreSQL, MySQL, or MongoDB clusters using simple HTTP requests.
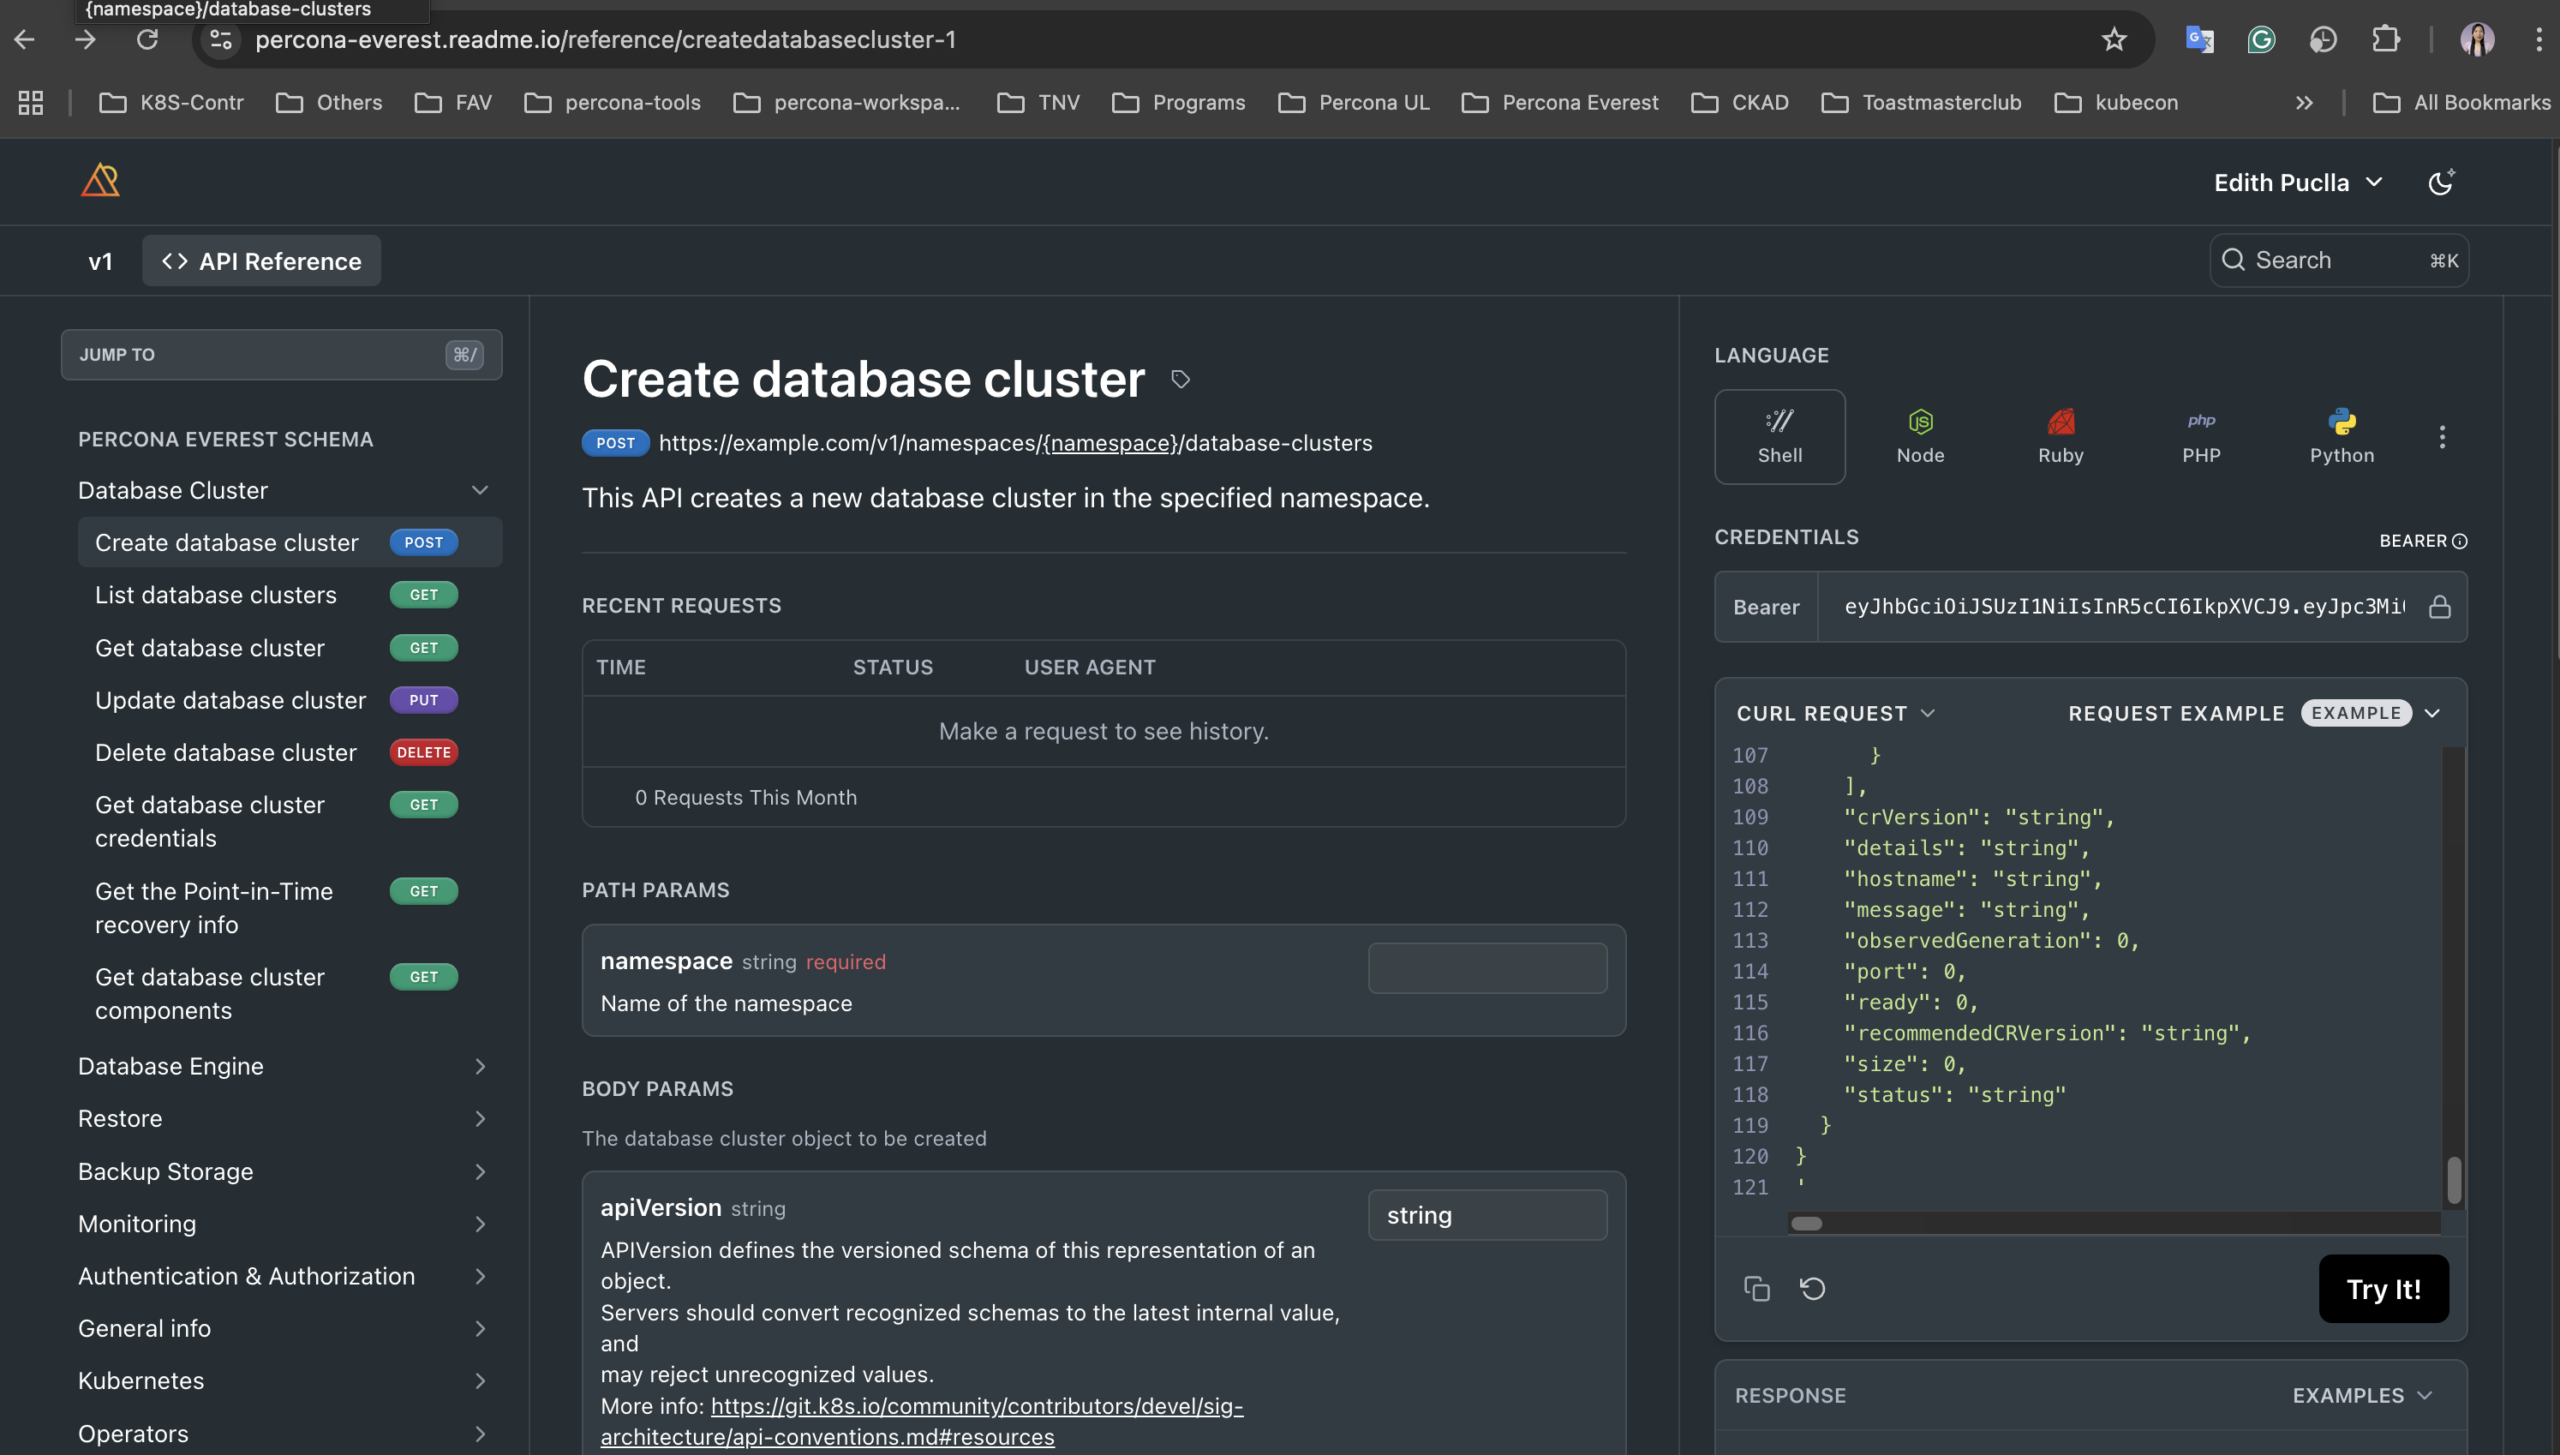
One of the best things about working with the Percona Everest is its excellent, beginner-friendly documentation, which includes APIs. You can explore it here: Percona Everest API Reference.
For every API call, in this picture, the Percona Everest docs show you:
To try Percona Everest’s APIs without writing code, use Postman, a visual tool for sending and inspecting API requests.
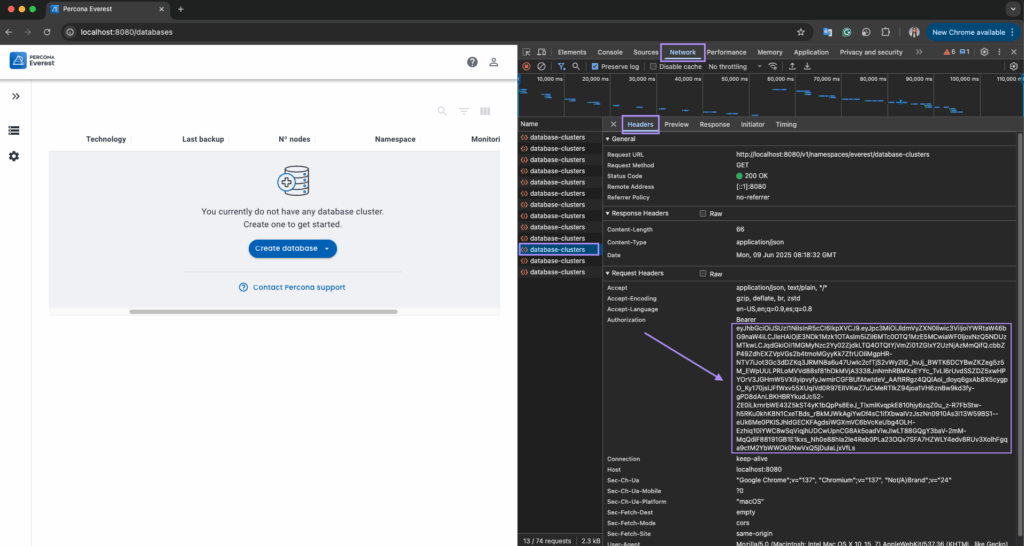
Tip: If you’re running Percona Everest locally (e.g., localhost:8080), use the Postman Desktop Agent to allow web-based Postman to send requests through your local machine.
In our Python demo (everest-api-demo), we use variables like these to make the code reusable:
|
1 2 3 4 5 6 7 |
EVEREST_API = "http://localhost:8080" NAMESPACE = "everest" CLUSTER_NAME = "demo-pg-cluster" HEADERS = { "Authorization": f"Bearer {API_TOKEN}", "Content-Type": "application/json" } |
Let’s create a PostgreSQL cluster using the API. Here’s what the setup includes:
In our everest-api-demo, all of this is handled inside the create_cluster() function:
|
1 2 3 4 5 6 7 8 9 10 11 12 13 14 15 16 17 18 19 20 21 22 23 24 25 26 27 28 29 30 31 32 33 34 35 36 37 38 39 40 41 42 43 44 45 46 47 48 49 50 |
def create_cluster(): payload = { "apiVersion": "everest.percona.com/v1alpha1", "kind": "DatabaseCluster", "metadata": { "name": CLUSTER_NAME }, "spec": { "engine": { "type": "postgresql", "version": "17.4", "replicas": 1, "storage": { "size": "25Gi", "class": "standard-rwo" }, "resources": { "cpu": "1", "memory": "2G" } }, "proxy": { "type": "pgbouncer", "replicas": 1, "expose": { "type": "external", }, "resources": { "cpu": "1", "memory": "30M" } }, "backup": { "pitr": { "enabled": False } }, "monitoring": { "resources": {} }, "podSchedulingPolicyName": "everest-default-postgresql" } } url = f"{EVEREST_API}/v1/namespaces/{NAMESPACE}/database-clusters" response = requests.post(url, headers=HEADERS, json=payload) response.raise_for_status() logging.info(f"[✓] Percona Everest Cluster '{CLUSTER_NAME}' created successfully with API.") logging.info(f"[ℹ️] API endpoint used: {url}") logging.info("[ℹ️] Cluster details:n" + json.dumps(payload, indent=2, sort_keys=False)) |
The create_cluster() function prepares all the required database configuration (like PostgreSQL version, storage, resources, and proxy settings) inside a payload dictionary. It then makes a POST request to the Percona Everest API using Python’s requests library to create the cluster.
If the request is successful, the function logs a confirmation message and shows the full payload that was sent; this helps you verify that everything went as expected.
The line response.raise_for_status() ensures the script stops and throws an error if the API returns a failure status (like 400 or 500). This is useful for debugging and makes the script more robust.
To create your PostgreSQL cluster, you simply run:
|
1 |
python3 main.py create-cluster |
Sample output:
|
1 2 |
[✓] Percona Everest Cluster 'demo-pg-cluster' created successfully with API. [ℹ️] API endpoint used: http://localhost:8080/v1/namespaces/everest/database-clusters |
The same could be done using the following curl:
|
1 2 3 4 |
curl -X POST http://localhost:8080/v1/namespaces/everest/database-clusters -H "Authorization: Bearer $EVEREST_API_TOKEN" -H "Content-Type: application/json" -d @payload.json |
Once our database is created, the next step is to check what’s running in our cluster. Let’s list all available clusters. The Percona Everest API also provides an endpoint to list all database clusters in a specific namespace.
You can list all clusters in your namespace using this function:
|
1 2 3 4 5 6 7 8 9 10 11 |
def list_clusters(): url = f"{EVEREST_API}/v1/namespaces/{NAMESPACE}/database-clusters" response = requests.get(url, headers=HEADERS) response.raise_for_status() clusters = response.json() logging.info("[✓] List of clusters:") for cluster in clusters.get("items", []): name = cluster.get("metadata", {}).get("name") engine = cluster.get("spec", {}).get("engine", {}).get("type") status = cluster.get("status", {}).get("status", "unknown") logging.info(f" - Name: {name}, Engine: {engine}, Status: {status}") |
This function:
GET request to the Percona Everest APITo list your active clusters, just run:
|
1 |
python3 main.py list |
And here’s what the output looks like:
|
1 2 3 |
[✓] List of clusters: - Name: demo-pg-cluster, Engine: postgresql, Status: ready - Name: postgresql-3a2, Engine: postgresql, Status: ready |
This is especially useful when you want to verify the state of your environments, or if you’re managing multiple clusters and want to see what’s deployed quickly.
Now that our cluster is running, how do we connect to it? Let’s use the API to retrieve credentials programmatically.
|
1 2 3 4 5 6 7 8 |
def get_credentials(): url = f"{EVEREST_API}/v1/namespaces/{NAMESPACE}/database-clusters/{CLUSTER_NAME}/credentials" response = requests.get(url, headers=HEADERS) response.raise_for_status() creds = response.json() dsn = f"postgres://{creds['username']}:{creds['connectionUrl']}" logging.info(f"[✓] DSN: {dsn}") return dsn |
Run the script:
|
1 |
python3 main.py get-creds |
Sample output:
|
1 |
[✓] DSN: postgres://postgres:n%3B%2FAn%3B6wHV%5D%3E-nWhmz%3Dc6%3BD%2B@demo-pg-cluster-pgbouncer.everest.svc:5432 |
Using curl instead:
|
1 2 3 4 |
curl --request GET --url http://localhost:8080/v1/namespaces/everest/database-clusters/demo-pg-cluster/credentials --header 'accept: application/json' --header 'authorization: Bearer <YOUR_API_TOKEN>' |
You can then use it directly with a psql command to connect from your Kubernetes cluster:
|
1 |
kubectl run psql-client --rm -it --image=postgres -- psql postgres://postgres:<your-password>@<host>:5432 |
This is a great way to quickly test your cluster connection without exposing anything externally.
Once you’re done with your PostgreSQL cluster, you can delete the cluster using the Percona Everest API.
|
1 2 3 4 5 6 |
def delete_cluster(): url = f"{EVEREST_API}/v1/namespaces/{NAMESPACE}/database-clusters/{CLUSTER_NAME}" response = requests.delete(url, headers=HEADERS) response.raise_for_status() logging.info(f"[✓] Cluster '{CLUSTER_NAME}' deleted successfully.") logging.info(f"[ℹ️] DELETE request sent to: {url}") |
Run the script:
|
1 |
python3 main.py delete |
Sample output:
|
1 2 |
[✓] Cluster 'demo-pg-cluster' deleted successfully. [ℹ️] DELETE request sent to: http://localhost:8080/v1/namespaces/everest/database-clusters/demo-pg-cluster |
Using curl instead:
|
1 2 3 4 |
curl --request DELETE --url http://localhost:8080/v1/namespaces/everest/database-clusters/demo-pg-cluster --header 'accept: application/json' --header 'authorization: Bearer <YOUR_API_TOKEN>' |
This simple step completes the lifecycle of our database cluster, from creation and connection to deletion, all through API calls.
Feel free to explore the Percona Everest documentation to learn more about what’s possible. You can also check out and use this demo project: everest-api-demo, fork it, modify it, and share improvements!
Do you have questions or feedback? We’d love to hear from you in the Percona Community Forum. Let us know how Percona Everest works for you and how you use it in your projects!
Resources
RELATED POSTS